
Tutorials
CADCraft tutorials
Basic operations for beginners and AutoCAD users. Open the online version in another tab and follow along.
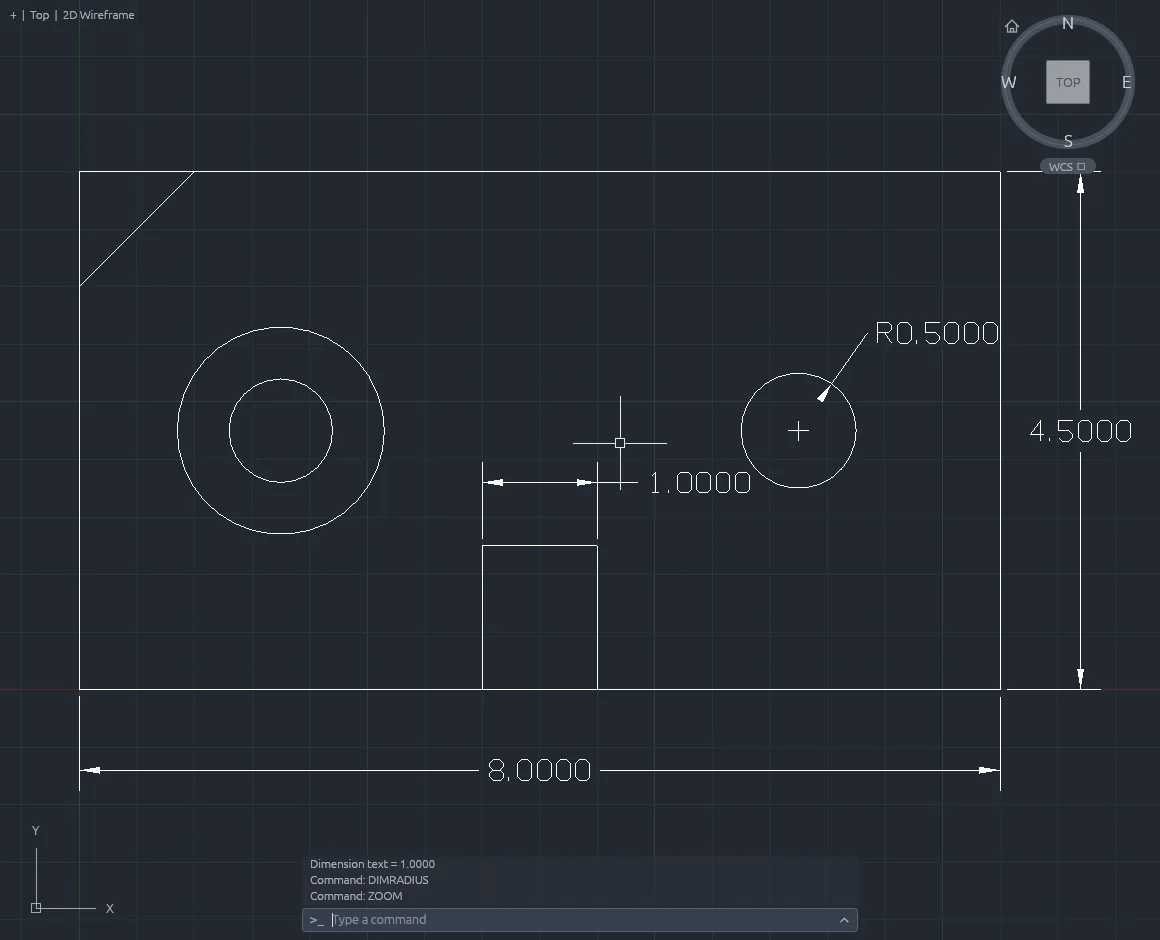
1. The command line
Almost everything in CADCraft starts at the command line. Type a command name (or its alias) and press Enter. CADCraft then prompts you for points, distances or options; keywords in the prompt can be typed directly.
- 1Type LINE and press Enter to start the line command.
- 2Press Enter, Space or right-click to finish. Press it again to repeat the last command.
- 3Use AutoComplete and the command history to find commands quickly.
2. Coordinates
CADCraft understands the same coordinate notation as AutoCAD, so you can place points exactly.
- x,y: absolute coordinates, for example 0,0
- @dx,dy: relative to the last point, for example @10,0
- @distance<angle: polar, for example @5<90
- #x,y: force absolute coordinates while dynamic input is on. Tip: with dynamic input on, the second point you type is relative, so use #x,y for absolute points.
- Direct distance entry: point the cursor in a direction and type a distance
3. Draw your first shapes
Combine commands and coordinates to draw. The c option closes a shape back to its start point.
A closed triangle in one line:
>line 0,0 @10,0 @0,5 c
A circle centred at 5,2 with radius 1:
>circle 5,2 1
Also available: PLINE, ARC, RECTANG, POLYGON, ELLIPSE, SPLINE, POINT, XLINE, RAY, DONUT, TEXT and MTEXT.
4. Draft with precision
Turn on drafting aids to hit exact points without typing coordinates.
- Object snaps lock the cursor to endpoints, midpoints, centres and intersections.
- Polar tracking and ortho constrain the cursor to set angles.
- Grid snap moves the cursor in fixed steps.
5. Edit and modify
The modify commands work like AutoCAD: start the command, select objects, press Enter, then answer the prompts.
Offset a selected object by 0.25 units:
>offset 0.25
- Use TRIM and EXTEND to clean up corners, FILLET and CHAMFER to round or bevel them.
- Click an object to show its grips. Click a grip, then press Space to cycle Stretch, Move, Rotate, Scale and Mirror.
Also available: MOVE, COPY, ROTATE, SCALE, MIRROR, STRETCH, BREAK, JOIN, EXPLODE, ARRAY and OVERKILL.
6. Layers, dimensions, hatches and blocks
Organise and annotate your drawing.
- Put different kinds of geometry on separate layers to control colour and visibility.
- Use the DIM commands for associative linear, aligned, angular and radial dimensions; MLEADER and TABLE for notes.
- HATCH fills a closed area when you pick a point inside it. Islands are detected automatically.
- BLOCK turns geometry into a reusable symbol; INSERT places it. Blocks support attributes and nesting.
7. Layouts and plotting
Switch to a paper-space layout to arrange floating viewports at an exact scale, set up the page, and PLOT to PDF.
8. Save, open and export
CADCraft opens DWG (R13-2018) and DXF (R12-2018) files and saves DXF and DWG in R2000 format. Export PDF, SVG and PNG for sharing. To see the whole drawing at any time:
>zoom e
Entities that CADCraft does not support yet are not kept when you save. Always keep a copy of important original files.
9. Automate with the CLI and MCP
cadcraft-cli runs CADCraft without a window. Script a drawing, save it and render it in one command:
>cadcraft-cli run --sample --script 'CIRCLE 22,3 1\n' --save out.dxf --export out.png
Inspect or convert existing files:
>cadcraft-cli info drawing.dxf>cadcraft-cli convert drawing.dxf drawing.svg>cadcraft-cli convert drawing.dwg detail.png --window 0,0,20000,15000
Let an AI agent drive CADCraft through MCP, either headless or connected to the running app (start the app with --control 7979):
>cadcraft-cli mcp>cadcraft-cli mcp --connect 127.0.0.1:7979
Next steps
Read the official README and control-protocol docs on GitHub for every command and MCP tool.
github.com/storytold/cadcraft